
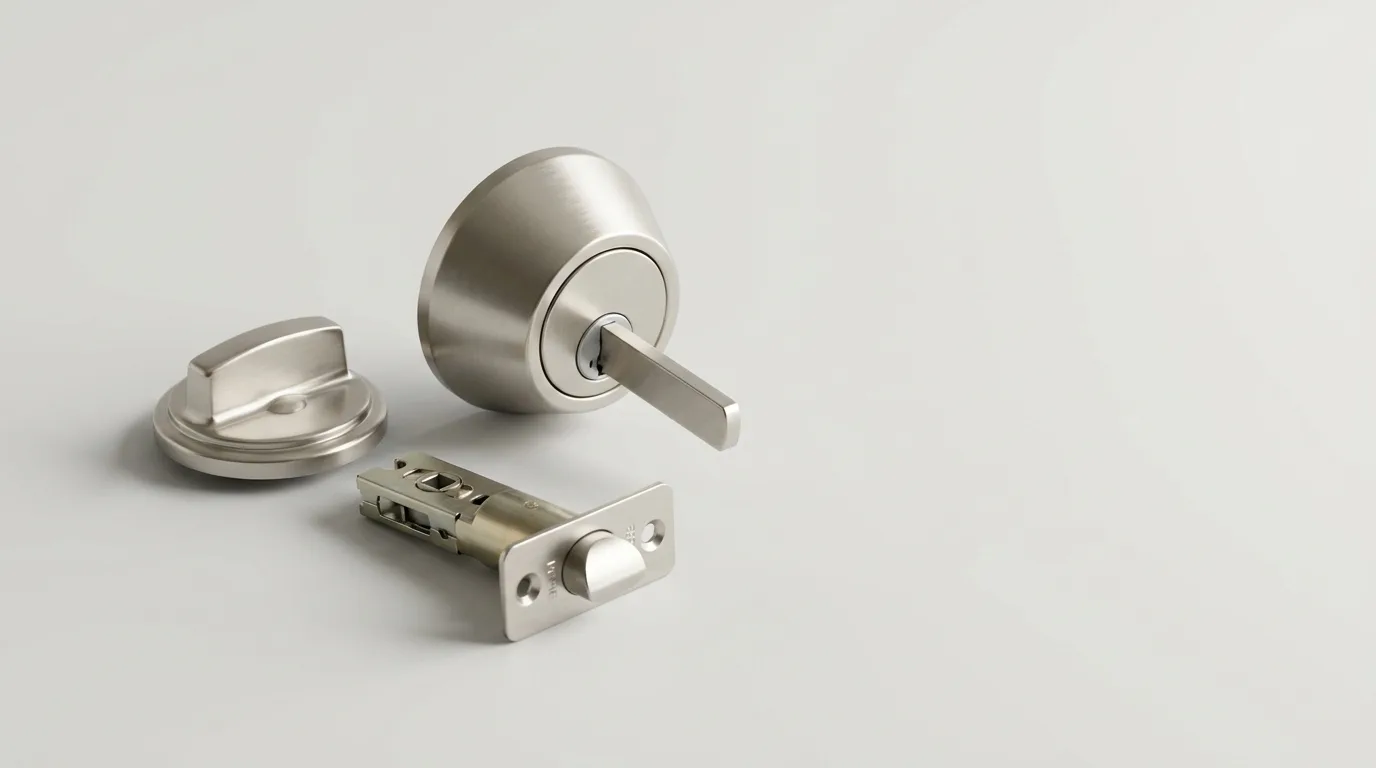
How to Remove a Deadbolt Lock (Stuck, Locked, or Seized)
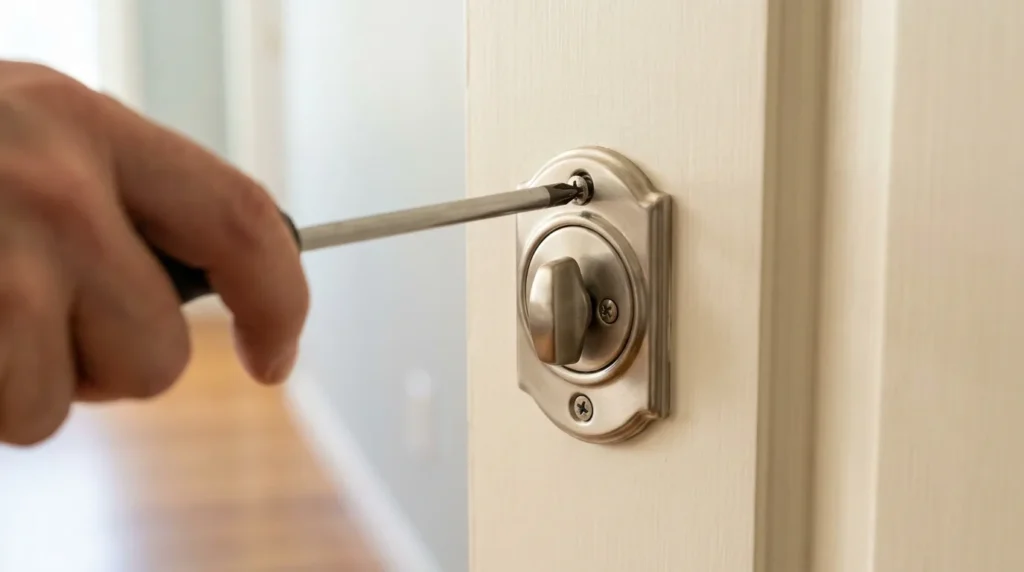
A deadbolt comes off from the inside, never the outside. To remove a deadbolt lock, pull the bolt back first, take out the two mounting screws on the interior thumbturn, separate the halves, then lift out the bolt assembly and strike plate. Ten minutes and a Phillips screwdriver covers most jobs. If the bolt’s frozen in the thrown position, there’s one move you have to make first. Skip it and you’ll make the whole thing worse.
How Do You Remove a Deadbolt Lock From a Door?
To remove a deadbolt lock from a door, work from the inside and keep the order: bolt, screws, cylinder, bolt assembly, strike plate. Jump ahead and the parts bind against each other. Soft brass screw heads round off fast.
What you’ll need
The six step sequence
If you’re putting in a new lock rather than fixing the old one, we can match new hardware to the house key you already carry.
How Do You Remove a Deadbolt Stuck in the Locked Position?
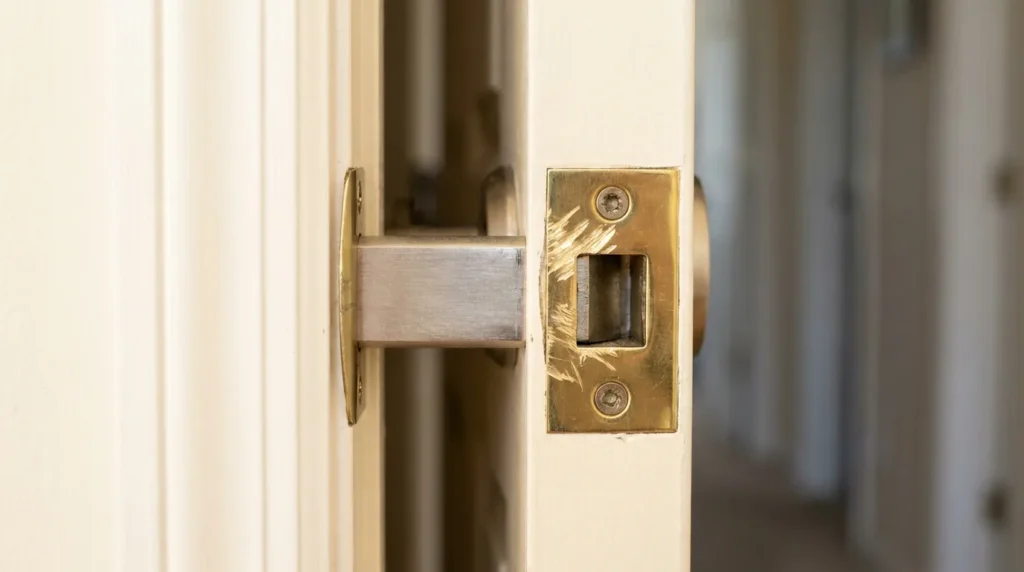
To remove a deadbolt stuck in the locked position, get the bolt pulled back before you touch a screw. A bolt sitting out in the jamb is trapped. Knowing how to remove a locked deadbolt comes down to one rule: the bolt comes in before the lock comes off.
How to remove a deadbolt that is locked: free the bolt first
What if the thumbturn spins with no resistance?
A thumbturn that spins freely means the tailpiece has sheared or slipped out of the bolt cam. The bolt won’t pull back from either side now. The interior half still unscrews, but the bolt stays buried in the jamb. Getting that door open without splitting the frame is a call, not a screwdriver job. Swapping the bolt assembly and rekeying the cylinder costs a lot less than repairing a chewed-up door.
How Do You Remove a Deadbolt With No Visible Screws?
A deadbolt without screws showing is still bolted together under the trim. The fasteners are hidden, not missing.
Snap-on trim ring. The interior rose wears a thin cover pressed over a base plate. Look for a small notch on the rim, slip a 1/8 inch flathead in, and twist gently until the cover pops off. The mounting screws are underneath. Schlage’s own installation sheets show this ring coming off before the housing.
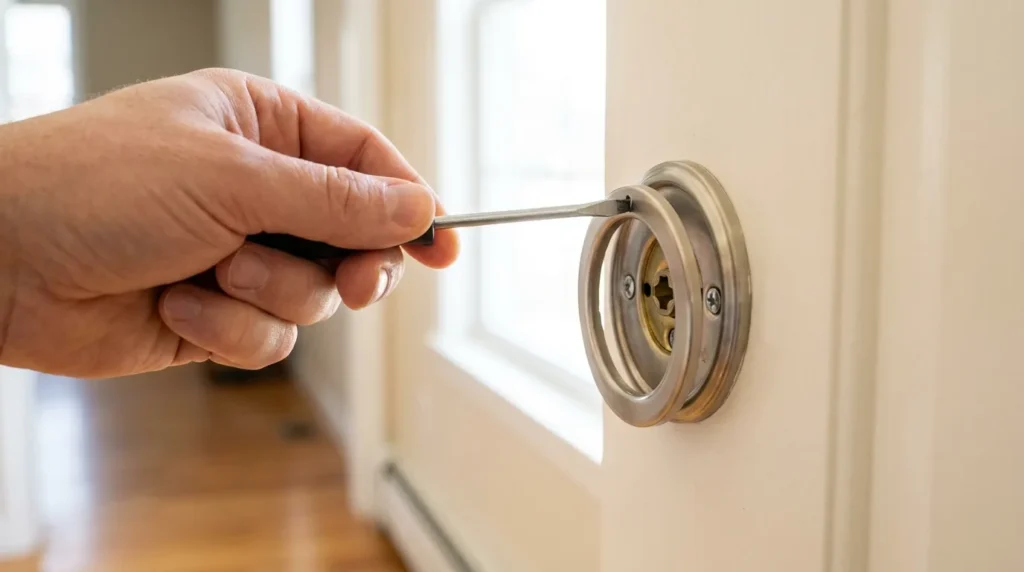
Threaded collar with a set screw. Common on older hardware and some commercial trim. Check the underside edge of the collar for a tiny hex socket. Back the set screw out with a 1/16 or 5/64 hex key, then unthread the collar counterclockwise.
Tamper-resistant exterior plate. Spanner or pin-in-Torx heads instead of Phillips. A security bit set handles most of them. If the head’s filled with epoxy, stop there. That hardware went on specifically to resist removal, and forcing it means a new door prep.
Kwikset and Schlage: What Actually Changes
Both brands use a two screw interior mount and a flat tailpiece, so the sequence above works on either one. It’s the small parts that differ.
Detail | Kwikset | Schlage |
|---|---|---|
Common residential deadbolts | 660, 980, SmartKey 909 | B60N, B62N, B80 |
Interior cover | Ring twists or pulls free on many models | Ring pries off at a notch |
Rekey port | SmartKey slot beside the keyway | None, the cylinder pulls out on its own |
Tailpiece | Flat blade, adjusts for door thickness | Flat blade, keyed to the housing |
Backset range | 2-3/8 or 2-3/4 inch | 2-3/8 or 2-3/4 inch |
Grade matters more than brand. BHMA rates deadbolts from Grade 1 to Grade 3, with Grade 1 the strongest. A Grade 3 unit on a front door is the weak point long before the cylinder is.
Why Do Deadbolts Seize Up Around Here?
Corrosion, debris and door movement cause nearly every seized deadbolt. Which one’s doing the damage depends on where the house sits.
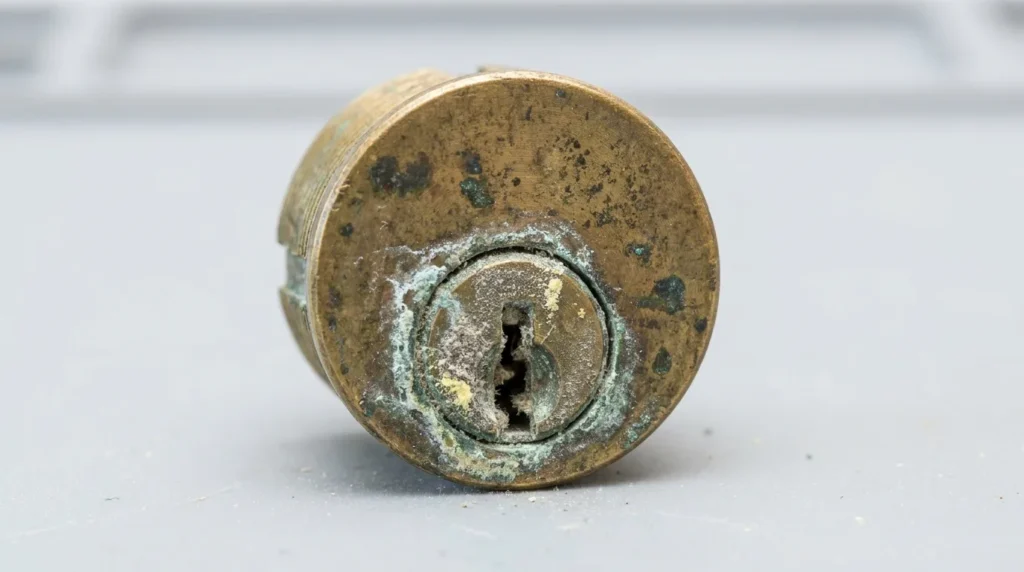
Salt air and humidity. Moisture works into the cylinder and oxidizes the brass pin tumblers, so the pins stop dropping cleanly. Lowcountry homes see it on exterior doors within a few years.
Spring pollen. Heavy pollen across Dorchester County packs into the keyway. Mixed with light oil it sets into a paste that holds the pins up.
Ground movement. Clay soil shifts with the wet season. The frame moves a few millimeters and the bolt stops lining up with the strike hole. The lock’s fine. The door prep isn’t.
Age and paint. Century-old hardware near Hutchinson Square predates modern spring steel, so the springs fatigue. And a painted bolt face binds every single time the door shuts. We see both on older streets and out in the newer builds, just for different reasons.
When Should You Stop and Call Someone?
Stop when the hardware stops behaving like hardware. Five signs the next move costs more than the lock:
Drilling out a deadbolt isn’t a home repair. It wrecks the bolt, usually the bore, and sometimes the door. Before you decide, look at what a deadbolt swap actually runs against the price of a new slab door.